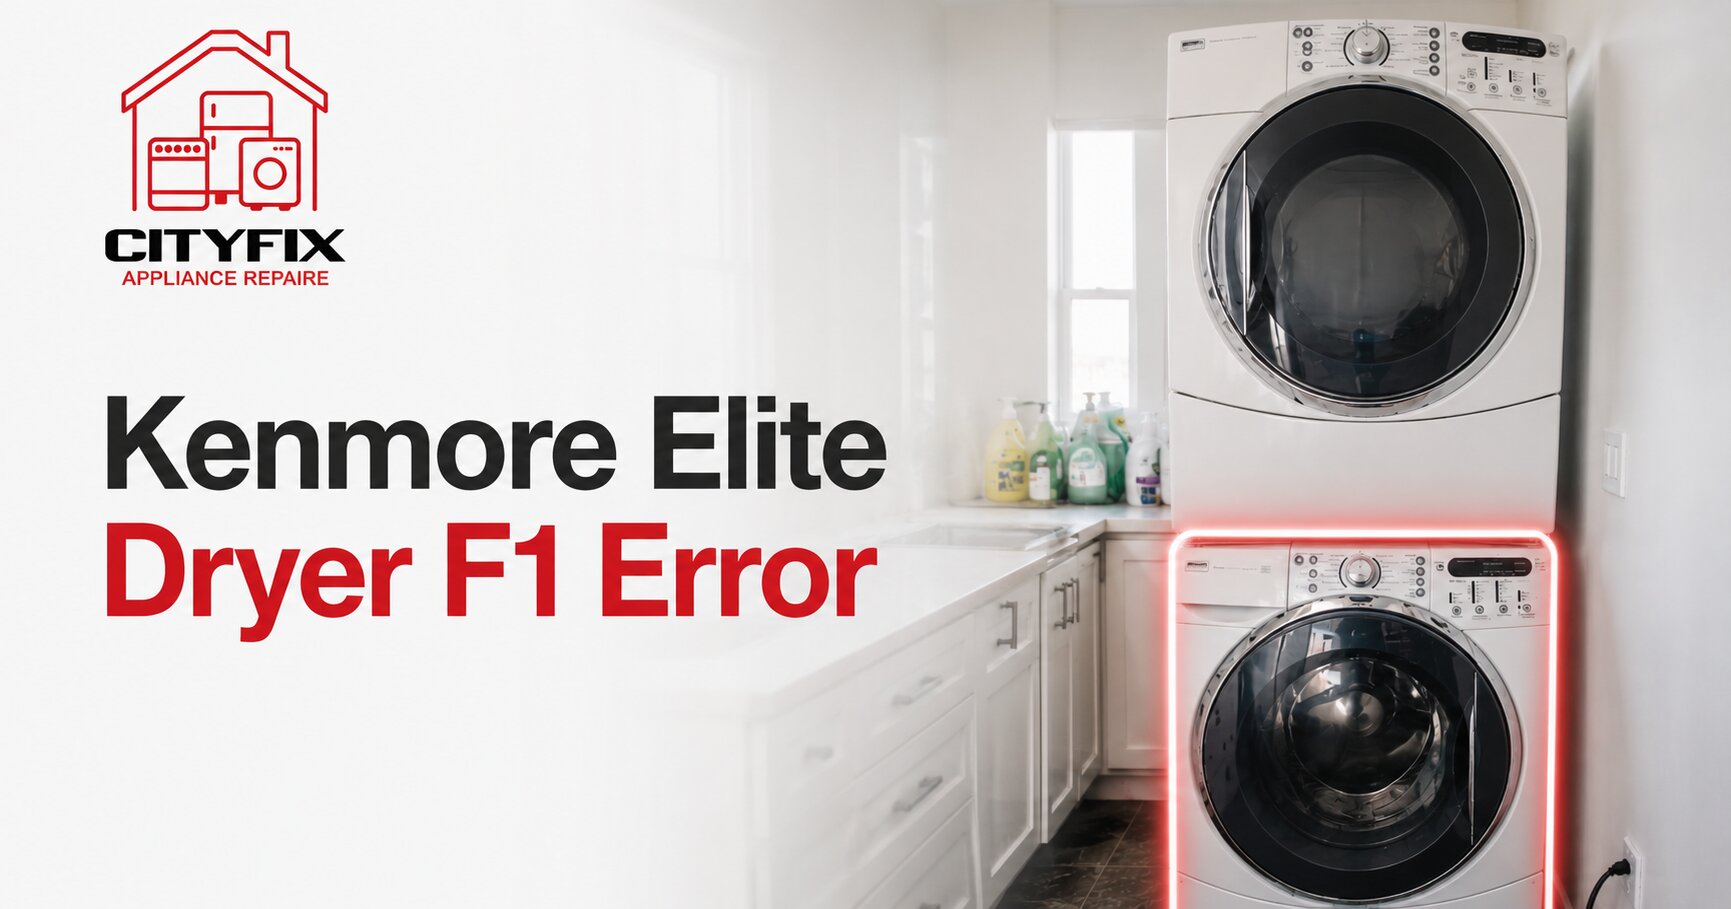
Quick Answer: A Kenmore Elite dryer F1 error means the mainboard (main control board) has failed internally. It cannot be reset, the board must be replaced. Power isolation, wire harness disconnection, and board swap take a certified technician under an hour, or an experienced DIYer a few hours with care.
If your display is flashing the Kenmore Elite dryer F1 error, the main control assembly (mainboard) has suffered an internal microprocessor or relay failure and must be replaced. For homeowners in the Glendale and Los Angeles area looking for professional assistance, CityFix Appliance provides expert, certified local technician support to safely resolve this issue.
Below is the definitive, step-by-step walkthrough detailing the exact process our technicians follow during a mainboard replacement, from diagnosis through final system testing.
Understanding the Architecture: The Heart of the Appliance
To resolve control errors effectively, it helps to understand the internal components inside the machine’s electrical enclosure:
- The Main Control Assembly (Mainboard): the centralized electronic brain that processes sensor telemetry and manages power distribution.
- The Control Panel Interface: the user-facing display module that translates touch inputs into digital commands and displays fault codes.
- Sensory Assemblies: a network of internal thermistors, moisture sensors, and thermal cut-offs.
- The Electrical Enclosure: a protective steel or plastic housing designed to shield sensitive digital microprocessors from ambient moisture and lint buildup.
F1 Error Repair Safety: Power Isolation First
⚠ DANGER – Electrical Shock Hazard
Modern appliances house complex control panels, circuit breakers, switches, and extensive cable management systems that carry substantial electrical current. Disconnect the power supply completely before servicing. Failing to follow this protocol can result in severe personal injury or catastrophic, irreversible damage to the electronics you’re repairing.
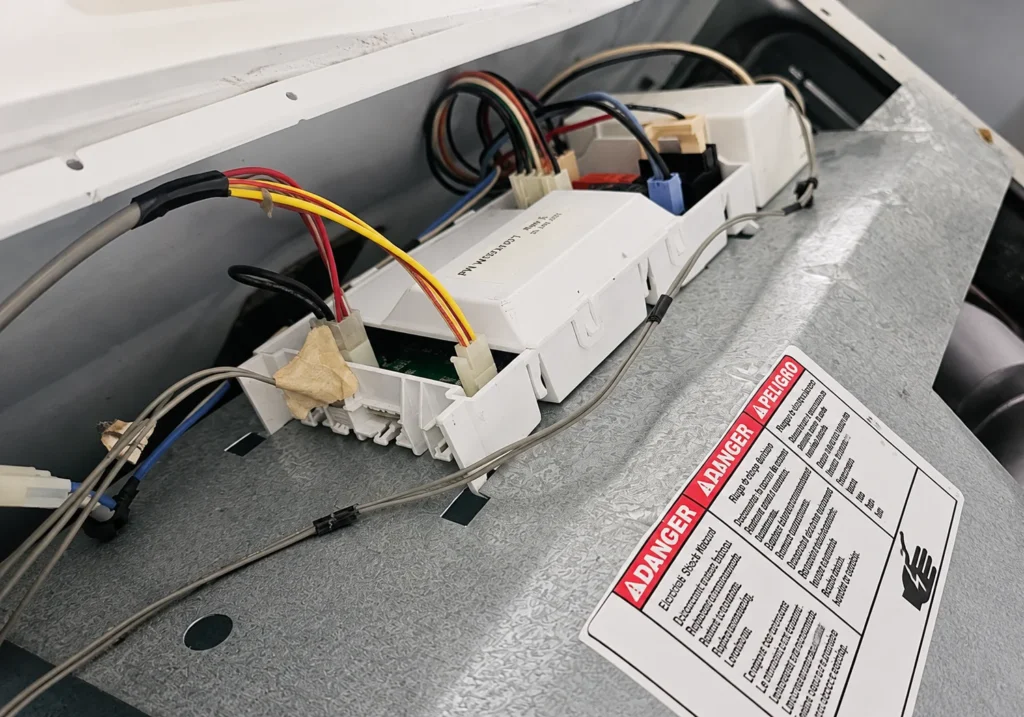
- Isolate the Power Source: Locate the dedicated dual-pole circuit breaker in your residential panel, or pull the 240V plug from the wall. On stackable units where the outlet is hard to reach, flipping the breaker is usually the safer path.
- Use Lockout/Tagout Principles: Make sure no one else can restore power while the machine is disassembled.
- Verify Zero Voltage: Use a calibrated digital multimeter or non-contact voltage tester to confirm there’s no power at the terminal block. Never assume a circuit is dead just because the breaker looks switched off.
Phase 1: Disassembly and Accessing the Control Enclosure
Accessing the electrical network on a stackable Kenmore Elite unit takes precision; the disassembly needs to follow a strict order to avoid damaging the chassis or plastic retention clips.
Step 1: Structural Stabilization
If the dryer is mounted on a washer via a stacking kit, confirm the interlocking brackets are secure so nothing shifts while you’re working.
Step 2: Removing the Console Top Panel
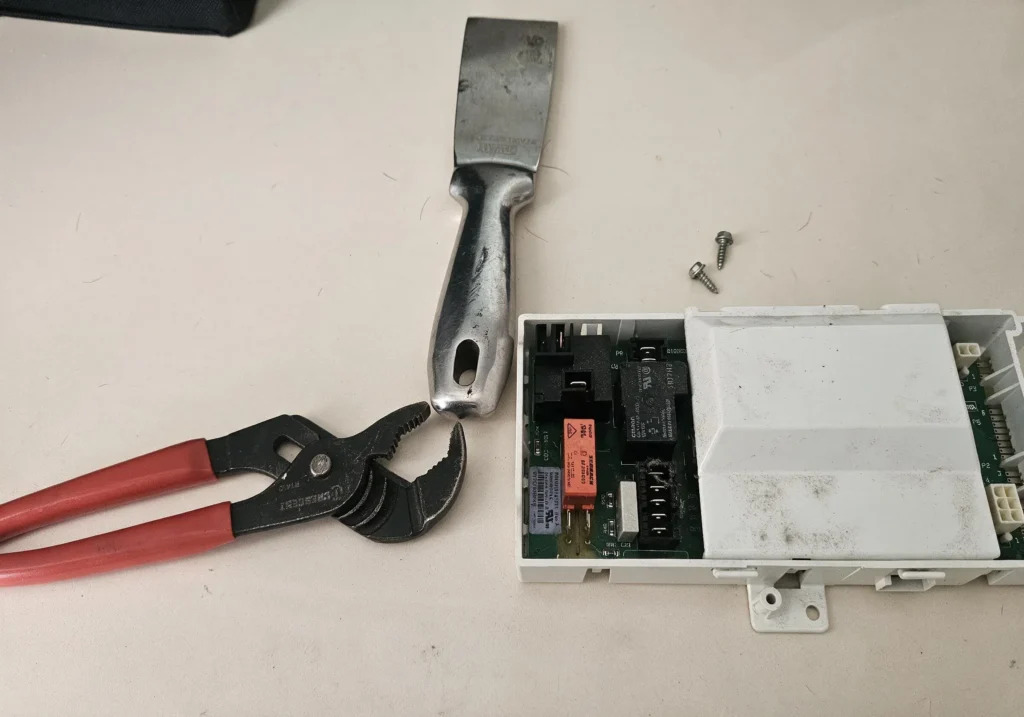
Most Kenmore Elite models require removing the top structural panel to reach the electronics enclosure. Locate the hex-head screws along the rear lip of the top cover, remove them, then slide the panel toward the rear before lifting it clear. Set it on a protected surface to avoid scratches.
Step 3: Extracting the Control Interface Component
With the top panel off, the control console framework is visible. Release the plastic locking tabs securing the user interface assembly to the front bulkhead and gently pull it forward. Take care not to strain the ribbon cables connecting the display to the mainboard.
Phase 2: Diagnostic Verification and Mapping
Once the enclosure is open, you’ll see a dense network of wire harnesses, terminal blocks, and switches. This is where errors most often get introduced during reassembly, so documentation matters.
The mainboard is a high-density intersection for several independent circuits: the motor drive, heating element loop, door switch circuit, and sensor networks. Before disconnecting anything, take high-resolution photos from multiple angles. Pay attention to:
- The orientation of multi-pin indexing blocks
- How wires route through the plastic management clips that keep them clear of sharp edges and moving parts
- Color-coded tracer paths that identify individual data lines
Phase 3: Kenmore Elite Mainboard Replacement Steps
Step 1: Disconnecting Wire Harnesses
Depress the locking tab on each harness plug and pull on the connector body, never the wires themselves, which can loosen crimped terminals inside. Clear the board of every connection, including the low-voltage interface ribbon cable.
Step 2: Unmounting the Board
Locate the retention screws or plastic standoffs holding the mainboard tray in place. Remove them and slide the old board out. While it’s exposed, inspect the enclosure for arcing marks, heat stress, or moisture intrusion, signs that reveal what caused the original failure.
Step 3: Installing the Replacement Board
Unbox the new mainboard using anti-static precautions. Align it with the enclosure’s positioning pins and secure it with the original hardware.
Step 4: Reconnecting the Infrastructure
Using your reference photos, reconnect every harness one by one. Each plug should click or seat firmly. Route the wiring bundles back through their designated management tracks to keep them clear of moving parts.
If this is starting to feel like more than a weekend project, book a certified CityFix technician – most F1 repairs are wrapped up same-day.
Phase 4: System Integration and Preventative Maintenance
Replacing the board fixes the immediate problem, but a full service pass also addresses the conditions that stress a mainboard over time, namely heat and restricted airflow.
- Clean the Interior Drum Cavity: Vacuum lint and debris from around the motor assembly and heating element housing.
- Inspect Exhaust Ducting: A clear exhaust path reduces thermal backpressure, keeping temperatures in range for both the mechanical parts and the electronics.
- Check Terminal Block Integrity: Make sure the heavy-gauge screw terminals at the rear power entry are torqued down; loose terminals cause resistance, voltage drops, and added stress on the new board.
Phase 5: Reassembly and F1 Error Test Cycle
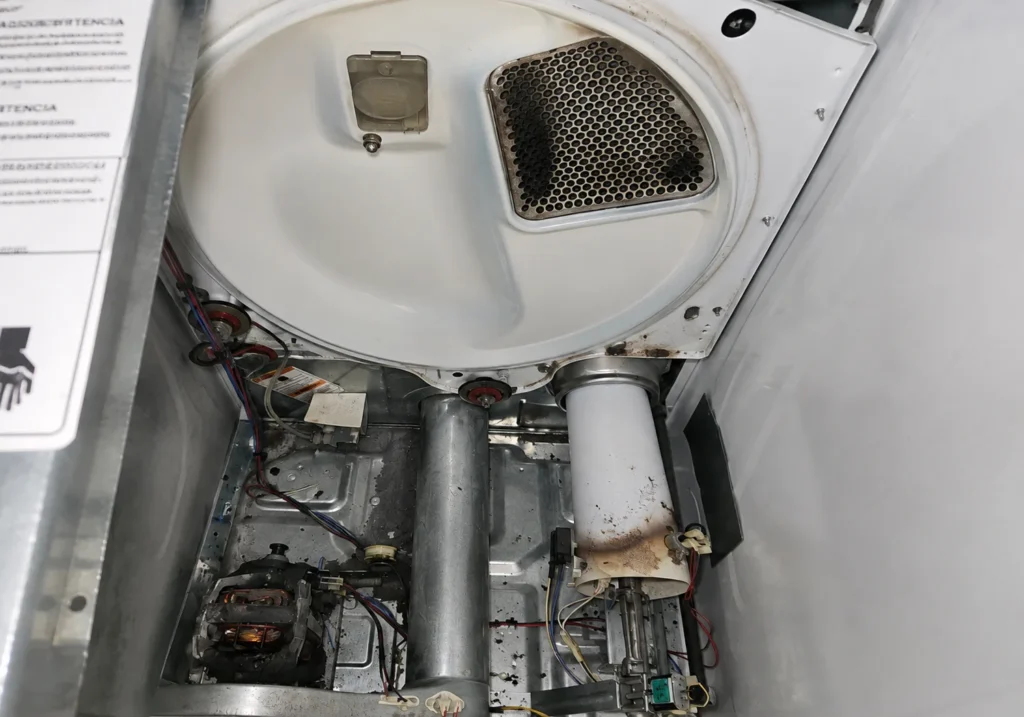
Reverse the disassembly steps precisely. Snap the control console back into its locking tabs, making sure no wires get pinched between the plastic fascia and the metal bulkhead. Reinstall the top cover and drive the rear screws home snug.
- Restore Power: Re-engage the breaker or plug the unit back in.
- Power On: The display should light up cleanly with no fault code.
- Run a Test Cycle: Start a standard timed cycle and watch it closely for a few minutes; confirm the drum turns smoothly, the heating element engages, and the controls respond correctly.
Diagnostic Summary
| Action Item | Technical Execution | Safety Constraint |
|---|---|---|
| Power Isolation | De-energize via breaker or 240V plug | Verify zero voltage with a multimeter first |
| Documentation | Photograph wire routing and connector arrays | Prevents miswiring and short circuits |
| Hardware Exchange | Swap failed board for certified replacement | Keep area free of lint during install |
| Thermal Maintenance | Clean exhaust paths and cabinet interior | Reduces operating temps, protects new board |
| System Testing | Run a full test cycle | Monitor closely to confirm proper integration |
Other Dryer Problems? You Might Find This Useful
Could be a worn belt or bad rollers, not the mainboard. See the fix →
Has Power But Won’t Start?Different failure point than F1 — check this first →
Not Spinning At All?Motor, belt, or switch — here’s how to tell which →
Drum Completely Stuck?Full diagnostic walkthrough for a jammed drum →
Frequently Asked Questions
What causes the Kenmore Elite dryer F1 error?
The F1 code points to a mainboard failure — an internal microprocessor or relay issue that requires board replacement, not a reset.
Can I fix the F1 error myself?
Yes, with care. The process involves working inside a 240V enclosure with dense wiring, so if you’re not comfortable with electrical work, a certified technician is the safer route.
How much does a mainboard replacement cost?
Cost depends on the exact model and part availability. Call (818) 937-1818 for a quote specific to your dryer.
How long does the repair take?
Usually under an hour on-site once the technician has the part.
Need a Hand? CityFix Appliance Serves Glendale & LA
Whether you tackle this yourself or want it handled for you, CityFix Appliance’s certified technicians are available across Glendale and the greater Los Angeles area.
Call (818) 937-1818 or book online for same-day service.
CityFix Appliance — Serving Greater Los Angeles — service@appliancecityfix.com