To repair a coil-style electric stove burner: turn off the circuit breaker, pull the dead element out, and swap it with a working burner from the same stove. If the problem moves with the element, replace it. If the problem stays at the same position, the socket or switch needs a professional. Most element replacements take under 10 minutes.
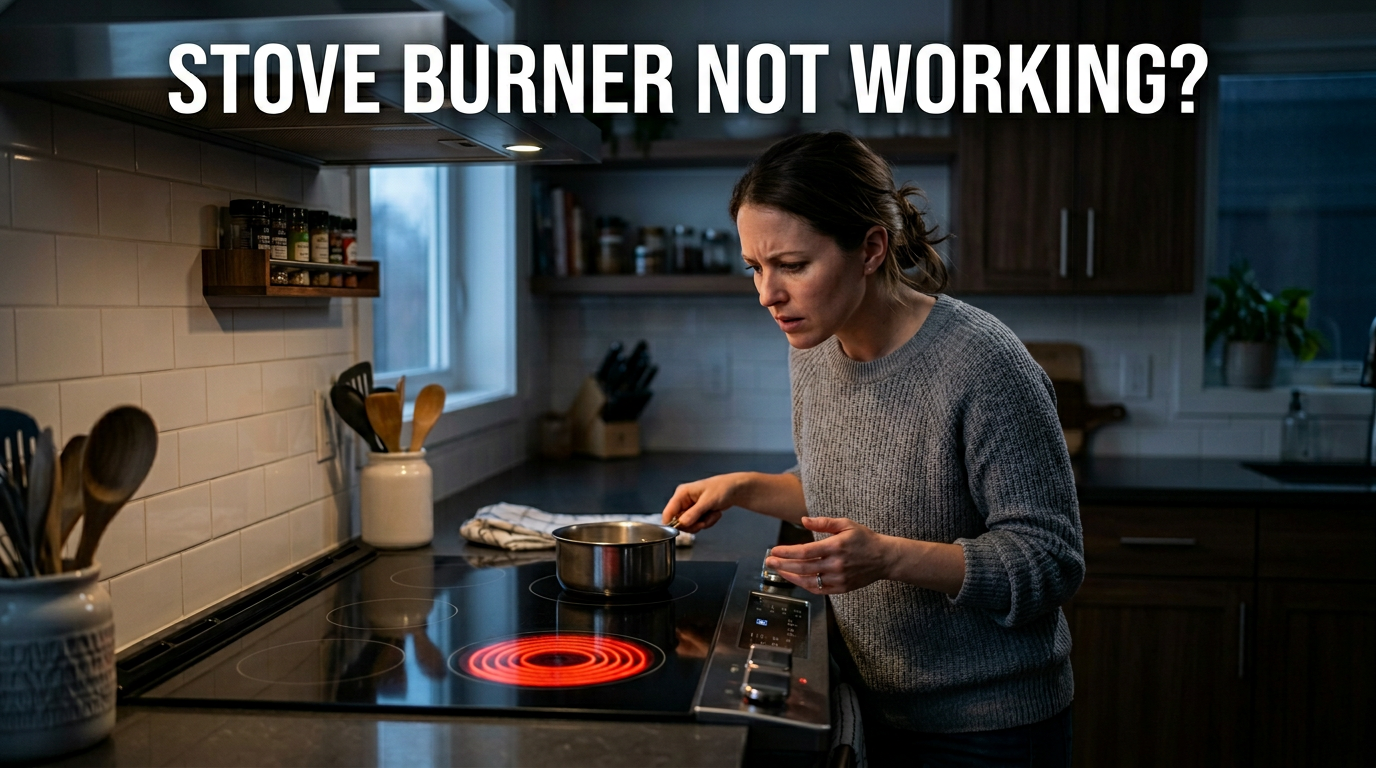
Electric stove burner not working? Whether your burner won’t heat at all, only glows on part of the coil, or runs on high but not on low, most problems can be diagnosed at home in under five minutes. Some are straightforward to fix yourself in one afternoon. Others need a licensed technician. This guide covers how to repair an electric stove burner for every common symptom, so you know exactly what you’re dealing with before spending anything on parts.
1. What Type of Stove Do You Have? (Check This First)
This guide is written for coil-style electric stoves, the most common type in Los Angeles homes and the only type where burner element repair is a safe DIY job. Before doing anything, confirm which type you have.
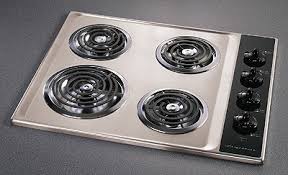
Coil electric stove
Raised metal coil rings that sit on top of the stovetop. Elements plug directly into a socket.
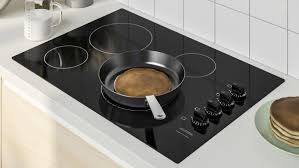
Glass / ceramic cooktop
Smooth flat surface. Elements are sealed underneath the glass and cannot be accessed safely without specialist tools.
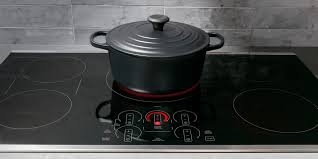
Induction cooktop
Smooth flat surface. Uses electromagnetic coils below the glass. No open heating element. Never DIY.
⚠️ Glass and induction cooktops only:The repair steps in this guide do not apply to your stove. Attempting to access the heating elements yourself risks cracking the glass surface, which requires replacing the entire cooktop. Contact CityFix Appliance for a same-day diagnosis across Los Angeles.
2. Before You Do Anything – Safety First
Electric stoves run on 240 volts, significantly more than a standard wall outlet. The receptacle socket stays electrically live even when the burner knob is in the “off” position. This is how most stove-related shocks happen. Follow every step below before touching any part of the stove.
✓ Turn off the stove’s dedicated circuit breaker at the electrical panel, not just the burner knob
✓ Wait at least 30 minutes for all surfaces to fully cool before touching anything
✓ Use insulated tools throughout the entire repair
✓ Remove all pots, pans, drip bowls, and foil from the cooktop before you start
✓ If you see sparking or smell burning plastic at any point, stop immediately and call a professional
3. Quick Symptom Diagnosis, Find Your Problem Fast
Match your symptom in the table below before reading the full repair steps. Each row links you directly to the right section so you don’t waste time on steps that don’t apply to your problem.
| Symptom | Most Likely Cause | Who Fixes It |
|---|---|---|
| No heat at all | Bad element or failed receptacle | Run swap test → Section 5 |
| Only part of the coil glows | Internal break inside the element | DIY → Replace element, Section 12 |
| Works sometimes, not always | Loose connection or corroded socket contacts | Inspect receptacle → Section 13 |
| HIGH works, MED and LOW don’t | Faulty infinite switch, not the element | Call a pro → Section 8 |
| Sparking or popping sounds | Damaged element terminals or wiring arcing | Call NOW → Section 9 |
| Element won’t sit flat | Bent terminal prongs or damaged socket | Inspect both → Section 9 |
| Multiple burners dead at once | Tripped breaker, main power issue, or control board | Check breaker first, then call a pro |
| Burning plastic smell near socket | Receptacle overheating, urgent safety issue | Call NOW – do not use stove |
| Burner stopped working after cleaning | Moisture in receptacle or element not reseated | Dry and reseat element → Section 5 |
4. Electric Stove Burner Not Heating at All – Run the Swap Test First
This is the most common complaint our Los Angeles technicians see. The burner is completely cold, no glow, no heat, even after several minutes at the highest setting. Before buying any parts, run the swap test. It takes two minutes, costs nothing, and tells you exactly what is broken.
How to run the swap test
- Turn off the circuit breaker for the stove at the electrical panel and wait for all surfaces to cool
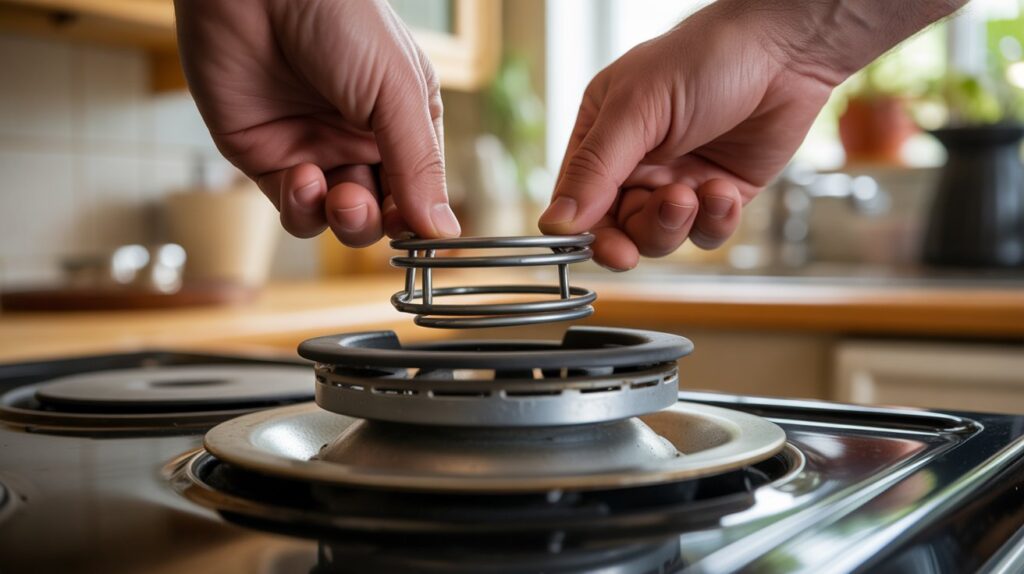
- Lift the dead burner element slightly and pull it straight toward you, it slides out of the socket without any tools or screws
- Swap it with a same-size working element from another burner on the same stove
- Restore power at the breaker and test both burner positions
What the result tells you
✓ PROBLEM MOVES WITH THE ELEMENT
The element itself is faulty. This is a straightforward DIY fix. Find your model number (Section 10), get the right replacement part (Section 11), and install it (Section 12).
✗ PROBLEM STAYS AT THE ORIGINAL POSITION
The socket, switch, or wiring is faulty not the element. Check the receptacle (Section 13). Professional repair is likely needed.
⚠️ Skipping the swap test is the #1 reason people buy the wrong parts.Our technicians run this test on every stove burner call before touching anything else. About 60% of “dead burner” calls turn out to be a socket or switch problem, not the element.
Burner stopped working right after cleaning? Moisture from cleaning solution may have entered the receptacle socket. With the breaker off, remove the element, let everything dry completely for several hours, reseat the element firmly, and test. If the problem continues, inspect the receptacle contacts for corrosion.
5. Electric Stove Burner Only Glows on Part of the Coil
Cause An internal break inside the burner element. The heating coil has fractured at a specific point, electrical current flows through part of the coil but stops at the break, so only one section glows.
Fix Replace the element. This is one of the clearest DIY diagnoses in stove repair, no additional testing is needed. The swap test will confirm it, and visual inspection usually makes the break obvious.
Pull the element fully out and examine it in good light. A healthy element is smooth and uniform with no discoloration, warping, or surface damage anywhere along the coil.
Replace the element immediately if you see any of the following:
- Blisters or bubbles anywhere along the coil surface
- A visible crack, fracture, or break in the metal
- Heavy rust or widespread corrosion
- Burn marks or charring near the terminal connection points
- Separated or bent terminal prongs
A cracked element arcs when powered. That arcing melts the receptacle ceramic around it, turning a simple element replacement into a much more expensive professional repair. Never use a visibly damaged element again, even for one more use.
6. How to Test the Burner Element with a Multimeter
If you have a multimeter and want to confirm whether the element has failed before buying a replacement, use this resistance test. It takes under two minutes and gives you a definitive answer, especially useful when the element looks physically fine but still won’t heat.
- Turn off the circuit breaker and remove the element from the stove completely
- Set your multimeter to the resistance setting, the ohms symbol (Ω)
- Touch one probe to each of the two terminal prongs on the element. Hold them steady for a few seconds.
- Read the display and compare it to the values in the chart below
Small burner (6 inch)
19 – 38 Ω
A reading in this range means the element is working correctly
Large burner (8 inch)
14 – 24 Ω
A reading in this range means the element is working correctly
What the reading means:
- Reading within the range above, the element is fine. The problem is the receptacle, switch, or wiring. Move to Section 13.
- Reading of zero (0 Ω), the element has a short circuit. Replace it.
- Reading of infinity (OL or 1 on the display), the internal coil is broken. Replace the element.
⚠️ Always test with the element fully removed from the stove and the breaker off.Testing a connected element risks damaging your multimeter and gives an inaccurate reading.
7. Common Problems and What They Mean
Burner only glows on part of the coil
This is an internal break inside the element, no extra testing needed. Pull the element out and look for blisters, cracks, burn marks near the terminals, or bent prongs. Replace it immediately. A cracked element arcs when powered, which melts the receptacle ceramic and turns a simple replacement into a much more expensive repair.
Burner works on HIGH but not MED or LOW
This is a failed infinite switch, not the element. The switch uses separate internal contacts for each heat setting, and the lower-heat contacts have worn out. Replacing the element will not fix this. The switch requires professional replacement because it connects directly into the stove’s internal wiring harness.
Sparking or popping sounds
Sparking means electrical arcing, a real fire hazard. Turn the knob off immediately, cut power at the breaker, and stop using that burner. Call a professional the same day.
With the breaker off, check the terminal prongs on the element first. Bent or burn-marked prongs prevent a clean seat and cause arcing. If the prongs look fine, the receptacle socket contact plates have worn down and are no longer gripping the element firmly, this is a professional repair.
8. How to Replace the Burner Element (DIY – 5 to 10 Minutes)
Burner element replacement is one of the safest DIY appliance repairs on coil-style stoves, no disassembly, no screws, no wiring required.
Get the right part
Open the oven door and find the model number label on the door frame (usually left side). Search that model number on the manufacturer’s website or a parts supplier like RepairClinic or PartSelect. Most coil stoves use a 6-inch small burner (1,250–1,500W) or an 8-inch large burner (2,100–2,600W), but always match by model number, not size alone. The wrong wattage overheats the receptacle and can blow the infinite switch.
Installation
- Confirm the circuit breaker is off
- Remove the drip bowl beneath the old element
- Align the new element’s terminal prongs with the socket slots and push firmly until fully seated
- Replace the drip bowl, restore power, and test, the element should glow evenly across the full coil within 60 seconds
If the new element glows unevenly or not at all, the issue is the receptacle or wiring, not the element. Call a professional.
9. Mistakes That Make Repairs Worse
- Using the wrong wattage element. Even if it fits physically, the wrong wattage overheats the socket and can blow the infinite switch. Always match wattage, voltage, and terminal type exactly.
- Using a damaged element one more time. A cracked coil arcs when powered and melts the receptacle, what should cost $15 becomes a professional repair bill.
- Replacing the same element more than once a year. If this is happening, a failing infinite switch or receptacle is burning out each new element. Fix the root cause, not just the symptom.
- Assuming the knob “off” position cuts all power. It does not. Always shut off the circuit breaker before touching any component.
10. When to Call a Professional
- The swap test confirmed the element is fine, but the burner still doesn’t heat
- The receptacle shows scorching, cracking, or damaged contact points
- The burner heats on HIGH but not MED or LOW, infinite switch failure
- You see or hear sparking anywhere on the stove, treat as same-day urgent
- You smell burning plastic near the stove
- Multiple burners stopped working at the same time
- You have a glass, ceramic, or induction cooktop
Still Can’t Fix It? We’re Available Same-Day Across Los Angeles.
CityFix Appliance covers 70+ cities across Greater LA, Glendale, Burbank, Pasadena, Sherman Oaks, Santa Monica, Torrance, Long Beach, West Hollywood, and beyond. Licensed, background-checked, and backed by a 90-day parts and labor warranty on every repair.
Faq About How to Repair an Electric Stove Burner
Can I replace just the burner element myself?
Yes, for coil-style stoves where the swap test confirmed the element is the problem. No screws, no wiring, and no disassembly are required. If the problem continues after installing an exact-match replacement, the receptacle or wiring is the issue and a professional is needed.
Why does my electric stove burner work on HIGH but not LOW?
This is a failed infinite switch, not a bad element. The switch uses different internal contacts for each heat setting. Replacing the burner element will not fix this. The switch needs professional replacement.
How long should a stove burner element last?
Three to seven years with normal use. If you are replacing the same element more than once a year, a faulty infinite switch or failing receptacle is the root cause, fix that, not just the element.
Is a sparking stove burner dangerous?
Yes. Sparking means electrical arcing, a real fire hazard. Turn the knob off, cut power at the breaker, and stop using the stove entirely. Call a professional the same day.
Should I repair or replace my electric stove?
Repair makes sense
- Everything else works correctly
- Stove is under 8 years old
- Only one burner is affected
Consider replacing
- Stove is 12+ years old
- Multiple parts are failing
- 3+ repairs in two years
A professional diagnosis typically costs less than buying multiple wrong parts while guessing. Visit our locations page to check same-day availability across Greater Los Angeles.